Friday, March 11, 2011

Fancy-T / Fashion Week Day 6


My daughter needed a neutral colored shirt to go w/ her new skirt. I could only find this very boring long-sleeve t (but it was on clearance). I forgot to take a pic until after I cut and arm off.I thought I could do something fun w/ it. First I cut off the arms, so it would come to the elbows and hemmed it.


Then I cut the old- sleeve into 2 inch strips. I made each strip into a rosette.
I


I thought it needed some leaves, so I made some w/ some ribbon. Then I sewed everything on the shirt.

TADAAA!


Pretty good-looking shirt for $4 and an hour of my time.

Click here more more fashion fun.


Linking up to Tatertots and Jello : http://tatertotsandjello.blogspot.com"

Bubbly Nature

Sumo Sweet Stuff

Fashion Week Day 5-Fun w/ Hems

The weather is getting warmer here and none of my daughter's skirts came anywhere close to the vicinity of her knees. They still fit everywhere else, so I thought I could play around with the hems a little to make them longer (and cuter).

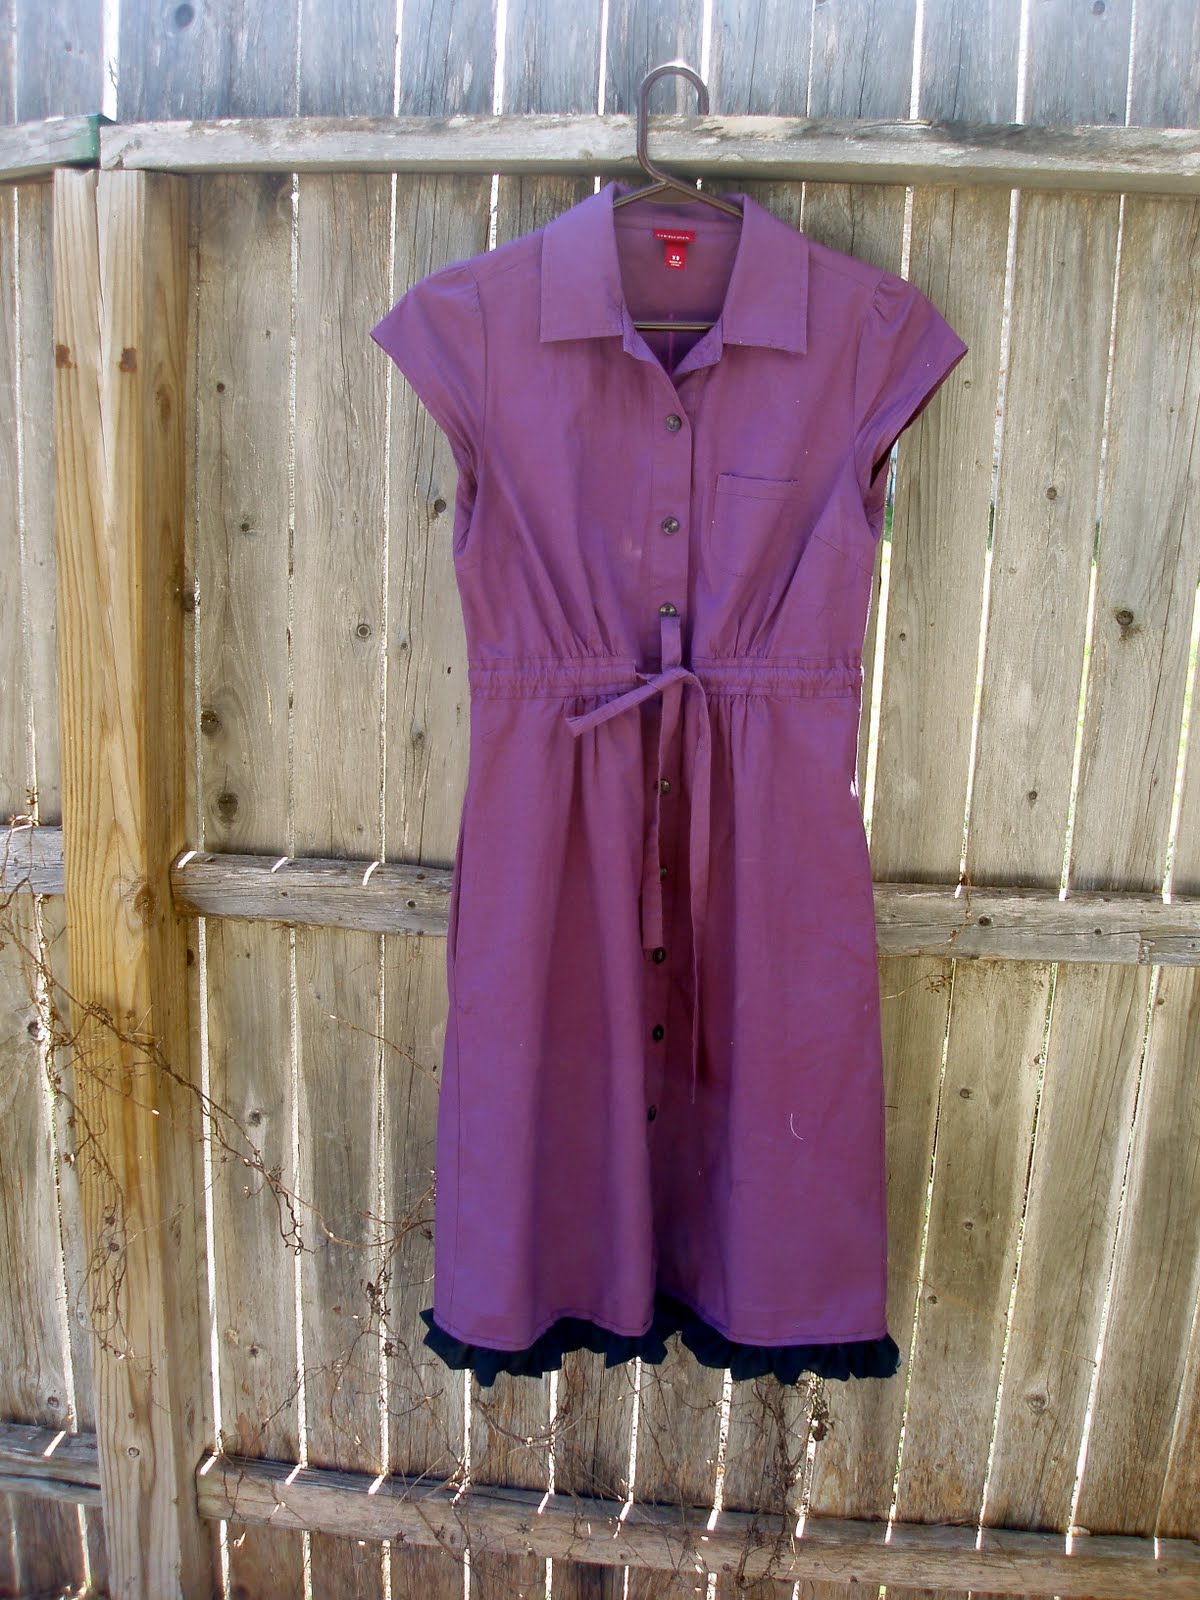
I didn't take any "during" pics, but basically, I unpicked the hem, which added 2 inches. Then I took some sheer black material, folded it in half, gathered it, and sewed it along the hem. I added a total of 3 inches and it's way cuter too.


BEFORE


I made the bird skirt last spring and so I had some leftover fabric. I cut strips of fabric and finshed the bottom edge. The top edge, I added 1/2 tucks every 2 1/2 inches. If you want the ruffle fuller, just add the tucks closer together.

Then I sewed in on the skirt. AFTER
BEFORE
The Neopplitan skirt, I also cut out a strip of fabric and finshed the bottom edge. Then I gathered the top edge and sewed it to the bottom of the skirt.


AFTER


It took me all morning, I was able to add 2-4 inches/ skirt. Hopefully she won't outgrow them too fast.
Click here to see all my other fashion ideas.

Wednesday, March 9, 2011

Fashion Week Day 4-Make it Work

In September 2009, I accidentally ended up in NYC during fashion week. One of my favorite things about living in my favorite city, DC, is that for $35 and a spirit of adventure you can take a round trip bus ride to Chinatown in New York City. It's not for the picky traveler-no one speaks English and on this particular trip we took a detour through Philly, but it's cheap and that's how I roll.
Our hotel was only a short walk from Mood fabrics. We are HUGE Project Runway fans and so of course we had to see it. The place is HUGE and has bolts of fabric stacked to the ceiling on three floors. I have no idea how those contestants find anything in 30 minutes. They had several of the actual outfits from Project Runway and we got to meet Swatch, the dog. So fun! While there, I bought fabric for 3 skirts.

Here's us at Bryant Park. All fashion shows are in those big tents behind. We had no idea to actually get in to watch a fashion show. We did see a former PR contestant. I can't remember his name, but he was the one that was unnaturally orange and always referred to himself in the 3rd person.


I made this skirt, immediately when we got home. It reminds me of Neapolitan Ice Cream. (It's Butterick pattern 4722)


I finally pulled out the rest of fabric last week and made these:
Same pattern as above out of an apple-green, but I made it a bubble skirt.


I think this fish print is adorable, but I was worried that once I made it she'd think it was too young for her. Boy was I wrong. It is my favorite thing I've made her in a long time. It fits her perfect and has almost a poodle-skirt feel. It also has a fun bounce when she walks. ( It's McCalls pattern 5920-but I added about 6 inches to the length)


She wore it on Sunday and she was ADORABLE (even more than normal). I was just thinking, I should make her a blue Rosette pin for the sweater.


Transformation Thursday


giveaways

Tuesday, March 8, 2011

1 Hour Maxi Skirt Tutorial


Welcome to Fashion Week: Day 3


I love the look of long flowing maxi-skirts and I long to own one that I can throw on with flip-flops and a t-shirt. The same effort as sweat pants and a t-shirt, but with a lot more sophistication. The problem is that every time I try them on they look awful. Most of them are made with horizontal strips of fabric. Bless you if you can wear horizontal stripes around your thighs and booty-I can not.


I bought this green fabric a while ago on clearance. It is pretty, but a pain to iron and I thought it would make the perfect maxi-skirt.


I think this was harder to explain then to make.


Step One: Measure your waist.


Step Two: Multiply your waist measurement by 1 1/2 to 3 (depending on how full you want your skirt). This is the width of fabric. For example if you have a 25 inch waist, you will need to cut your fabric between 37 and 75 inches long.


Step 2: Decide how long you want your skirt and trim it if needed. (I left mine pretty much the width of the fabric, b/c I'm lazy).


Step 3: You need to make a casing for the elastic. To do this fold the top over at least 1.5 inches and then repeat so you've made a little fabric tunnel. Mine was bigger, because I was too lazy to trim it.


Step 4: Sew the casing down.


Step 5: Cut a piece of elastic to your waist measurement.
Step 5: Attach a safety pin to the end of the elastic and thread it through the casing. Pin the elastic at each end.


Step 6: Sew the edge of your skirt (right sides together), making sure you catch the elastic at each end


Step 7: You could hem your skirt, but I just left mine with the edge of the fabric. There wasn't any printing on it, so I figure why bother w/ the hem.


Step 8: Wet the skirt and twist it to ring out excess water. Untwist and hang to dry. It should make really cool wrinkles. This is awesome, because it looks great and you NEVER have to iron it. Ever.


Tadaa! (or weirdest wreath ever)


Just to recap:


I made it under an hour, I will NEVER have to iron it, it looks great w/ a t-shirt and flip flops, and I didn't evern have to hem it. I think I'm going to make some more.


If anyone else makes one, link back here-I'd love to see what you make.


Click here to find some other fun ideas for your spring wardrobe.


Linking up here.

Pin It


Modest is Hottest fashion show/Project Runway

We have been having way to much fun coming up w/ new clothes this week. Guess how much money we've spent to far?...0$. Of course, I did start w/ a pretty good stash of craft supplies, but even if I had to go purchase all the supplies, it wouldn't be over $5 for the entire week.

We're having so much fun-we may keep going next week. I thought up a great idea for an activity with my daughter's youth group at church. We could have a "Modest is Hottest" fashion show. Here would be the guidlines:

You could even set it up like "Project Runway" and make it into a contest.
Each girl must come up with an outfit from their closet. They may use up to $5 to purchase addtional supplies to embelish any existing clothes. It must be an outfit that they would actually wear to school.

You could award points for:
1. Least amount of $ spent
2. Creative use of items
3. Acceessories
4. etc., etc,

You could make up funny award categories and give each girl a certificate. it could be like the pine-wood Derby, but with fashion. Hopefuly, the girls would learn that you don't have to spend a lot of $ to have a great original look. I think it would also build their confidence. How great would it be for them to wear something they made to school and have someone say, "Cute______, where did you get it?" They could answer, "I made it". Nothing better.

You could also just have each girl bring a t-shirt from home and bring assorted craft supplies. Each girl could make thier shirt their and then have a fashion show. I think it would make a fun mother-daughter night. Moms and Daughters could make shirts for each other. Fun?
Check out my fashion page for all my fabulous ideas

Fashion Week Day 2-Sheet music shoes


Posted by Picasa


My daughter saw these here and thought they were the cutest things ever. I thought covering your shoes w/ paper was weird, but I was wrong-they are adorable. The originals were covered w/ book pages. Instead we covered ours w/ sheet music. It would be cool to make them out of your favorite song, but these were just too random sheets that I literally got out of the recycle bin in the garage.

Basically you just cut your sheet music (we used 2 sheets) up into pieces and paint modge on top. We did probably 4-5 layers of modge podge, letting each layer dry in between.
Tips: -the smaller squares work better
-If you cut small slits in the paper, it helps it curve better
-I put a line of tape on the inside of her shoe, so the paper would rub her feet.
She’s wearing them today-I’ll let you know if they all fall apart.

***UPDATE: They ripped a little at the front of the shoes (wear her toes start). We're going to repair them and do another test run. She probably walks a few miles each day at school so I think it's a pretty good field test.

Tip Junkie handmade projects

http://thecsiproject.com/2011/05/15/sponsor-of-the-week-frayed/

Fashion Week Day 2

Kid clothes and Pillow give-a-way end at midnight.


To celebrate Day 2 of our Modest is Hottest fashion week; you are getting 2 postings for the price of one.
Idea #1
I had this xs t-shirt in my closet left over from when I was only a mother of 2. Realizing that my mother-of-three body is a size medium, I gave it to my daughter. She never wore it because it was to “plain”. I was inspired by this shirt of mine and thought I could easily use the same idea to fancy up a shirt.


The inspiration shirt

I used a variation of the organza flower that was so popular last spring.

Step 1: Cut strips of Organza into 3 inch squares (I used 17)

Step 2: Fold each square into 1/4ths.
Step 3: Round the unfolded corner of each folded square w/ scissors


Step 4: Hold the rounded corner close (but not touching) a candle flame. The edges will melt and this will stop it from fraying.
Step 5: Align the rounded edge of the petal w/ the bottom of the V and pin the pointed part of the petal to the shirt. I continued to pin the rest of the petals all the way up the neck line about a pinky-finger’s length apart. At first I sewed them right next to each other, but it looked like a clown collar. Play w/ the spacing until it looks how you want it.
Step 6: Sew the pointed end of each petal to the shirt.